

How to make your first blockchain integrated game using Reneverse Unity SDK


Introduction
In this guide, we will learn how to make your first Unity game which will be integrated with blockchain using Reneverse Unity SDK. Web3 gaming adoption has been gaining significant traction in recent years. Web3 refers to the third generation of the internet, characterized by the integration of blockchain technology and decentralized protocols. This technology has the potential to revolutionize the gaming industry by offering benefits such as ownership of in-game assets, transparent and secure transactions, interoperability between games, and play-to-earn opportunities.
What is Reneverse?
Reneverse is a platform that helps you to build a Blockchain Integrated Unity game without having to know Solidity or Rust. It manages everything from onboarding users to web3 gaming to easing the development and coding required to integrate your game with blockchain.
Just Create a new account at Reneverse and you have a fully functioning wallet that can interact with games integrated with Reneverse.
Integrating Reneverse with your Unity game
Create your account at Reneverse
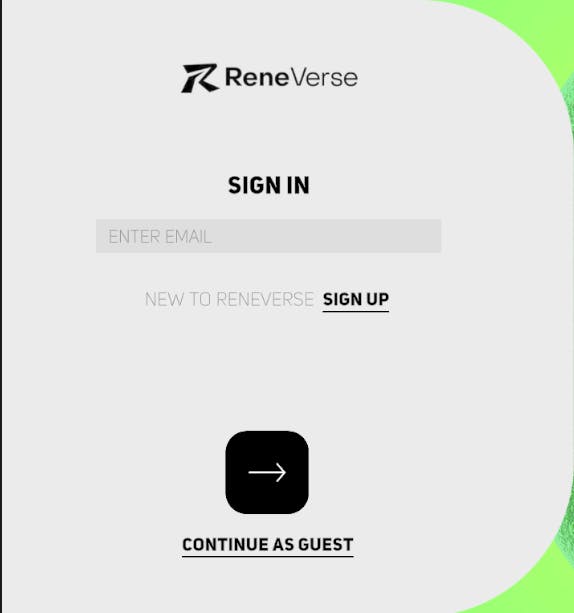
Head over to https://app.reneverse.io/register and fill up your credentials while selecting User Type as Game Developer.
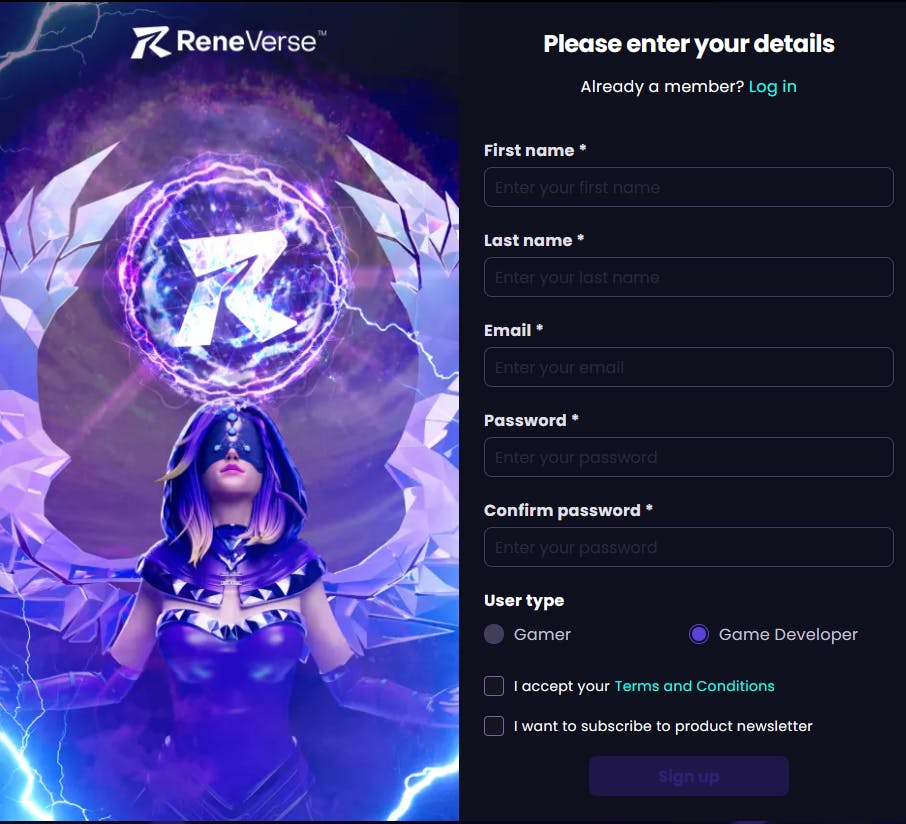
After OTP verification, head over to https://app.reneverse.io/login and log in to your account.
Create a template for your game in Reneverse
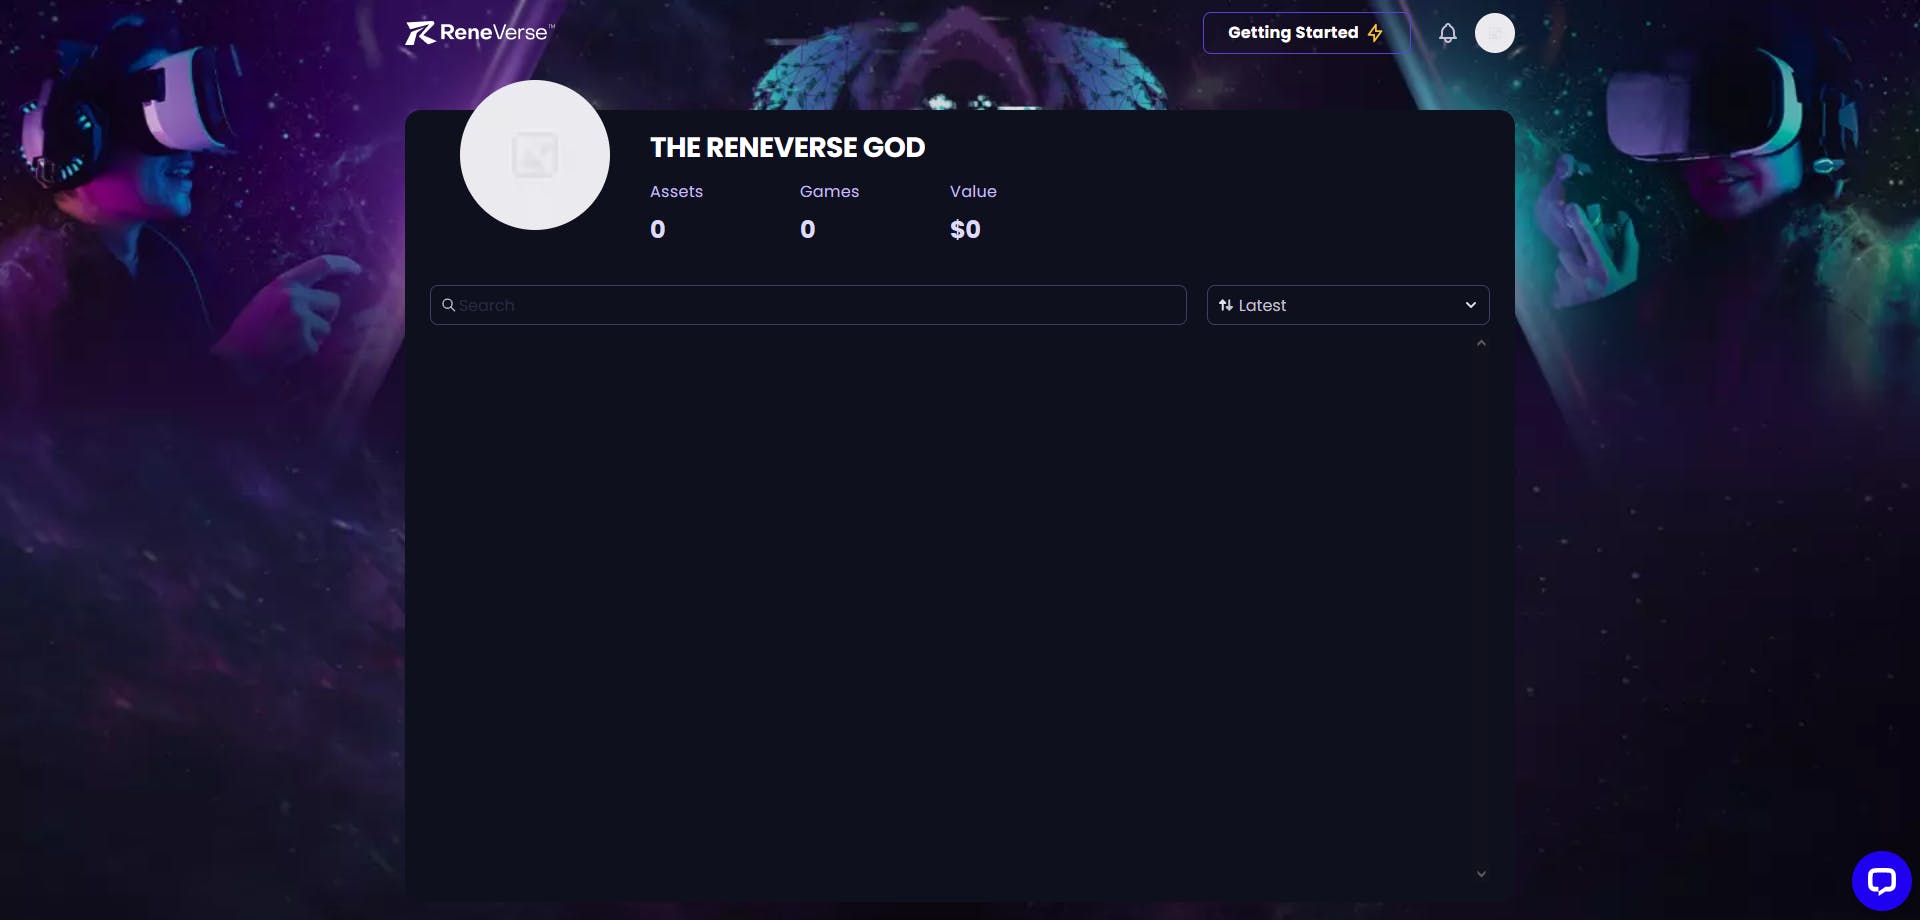
After logging in to your account, you will be presented with the Reneverse Dashboard.
Hover in your profile picture at the top right and you will see the following options.
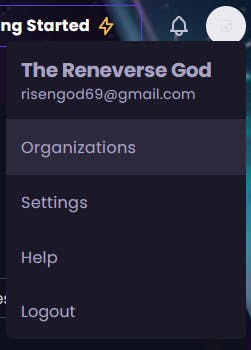
Let's create our first organization by clicking on Organizations :)
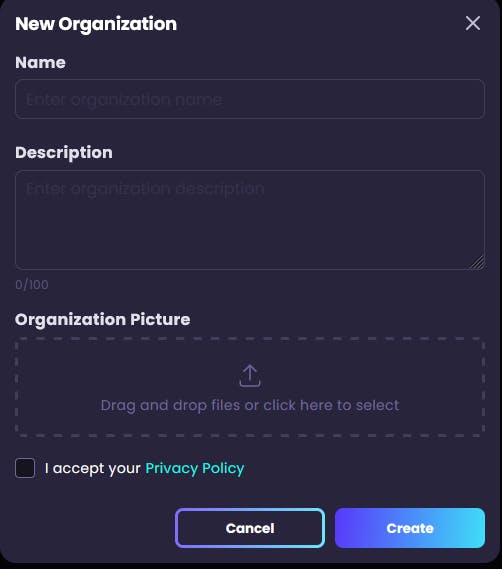
Creating Organization
Tap on New Organization, and fill up the credential to create your first organization. Organization in Reneverse helps developers like us to collaborate with other developers, for administration purposes or development of the same game.
After creating your Organization,

Adding your game to Reneverse Dashboard
Let's start creating our game by adding our game to Reneverse Dashboard by clicking on New Game.
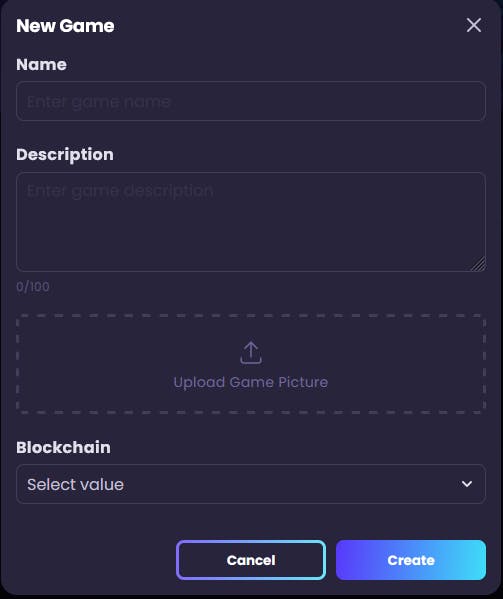
Fill up the details and click on Create. I have added details for my game:
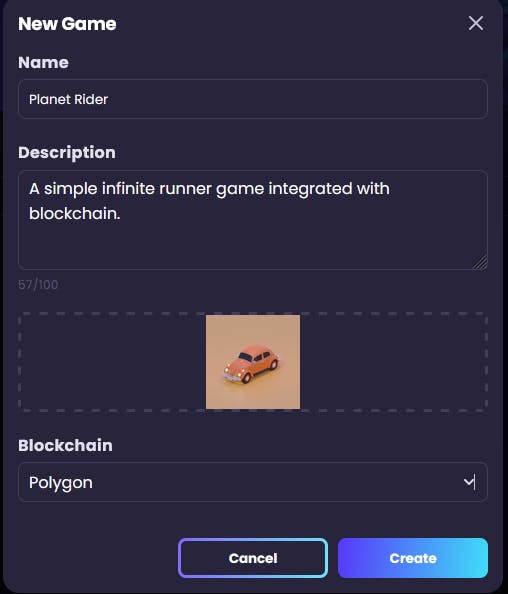
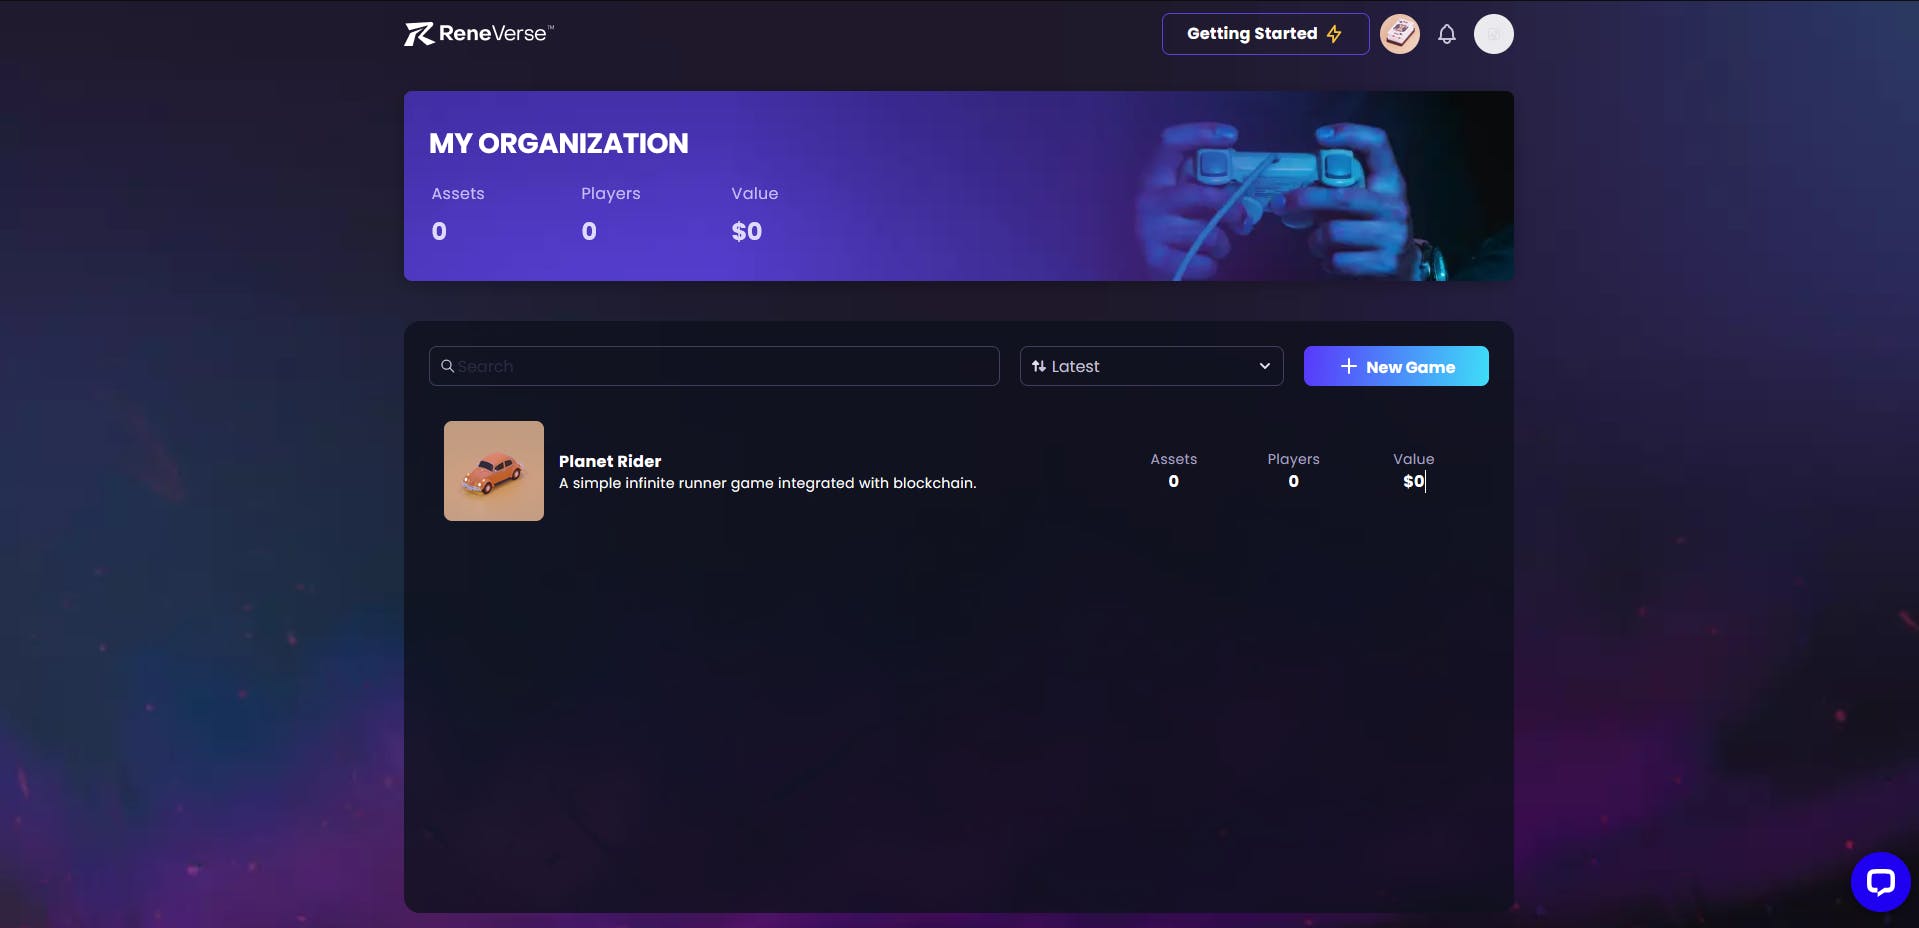
Wait for a few minutes and it will be added to your dashboard.
Creating a collection and making your asset template
Open your game and click on New Collection.
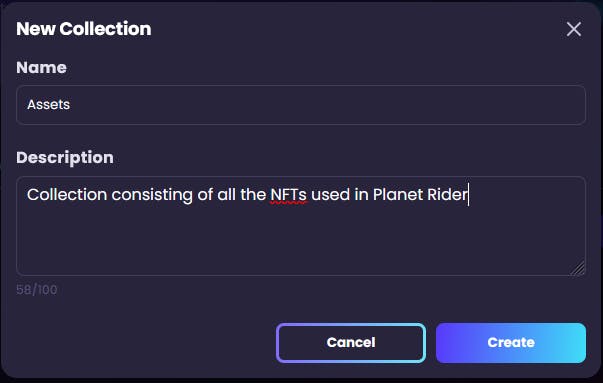
Click on the collection you made.

Let's create our first asset template by clicking on New Asset Template.
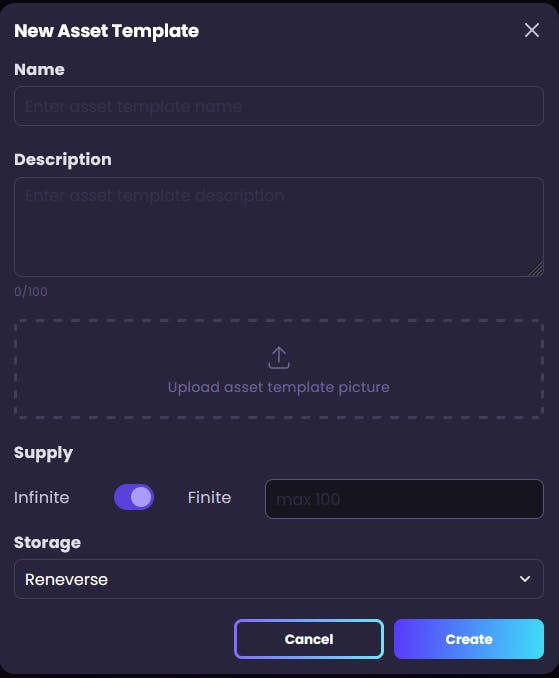
Add details for your first asset template.
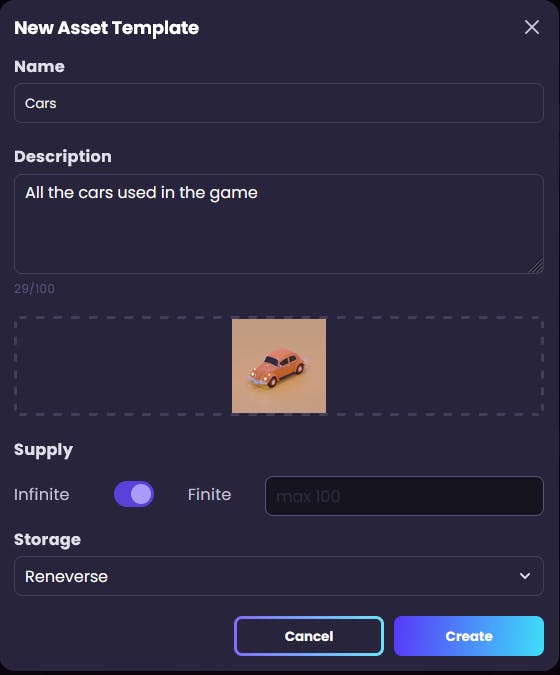
Open your asset template and we are ready to mint our first asset :)
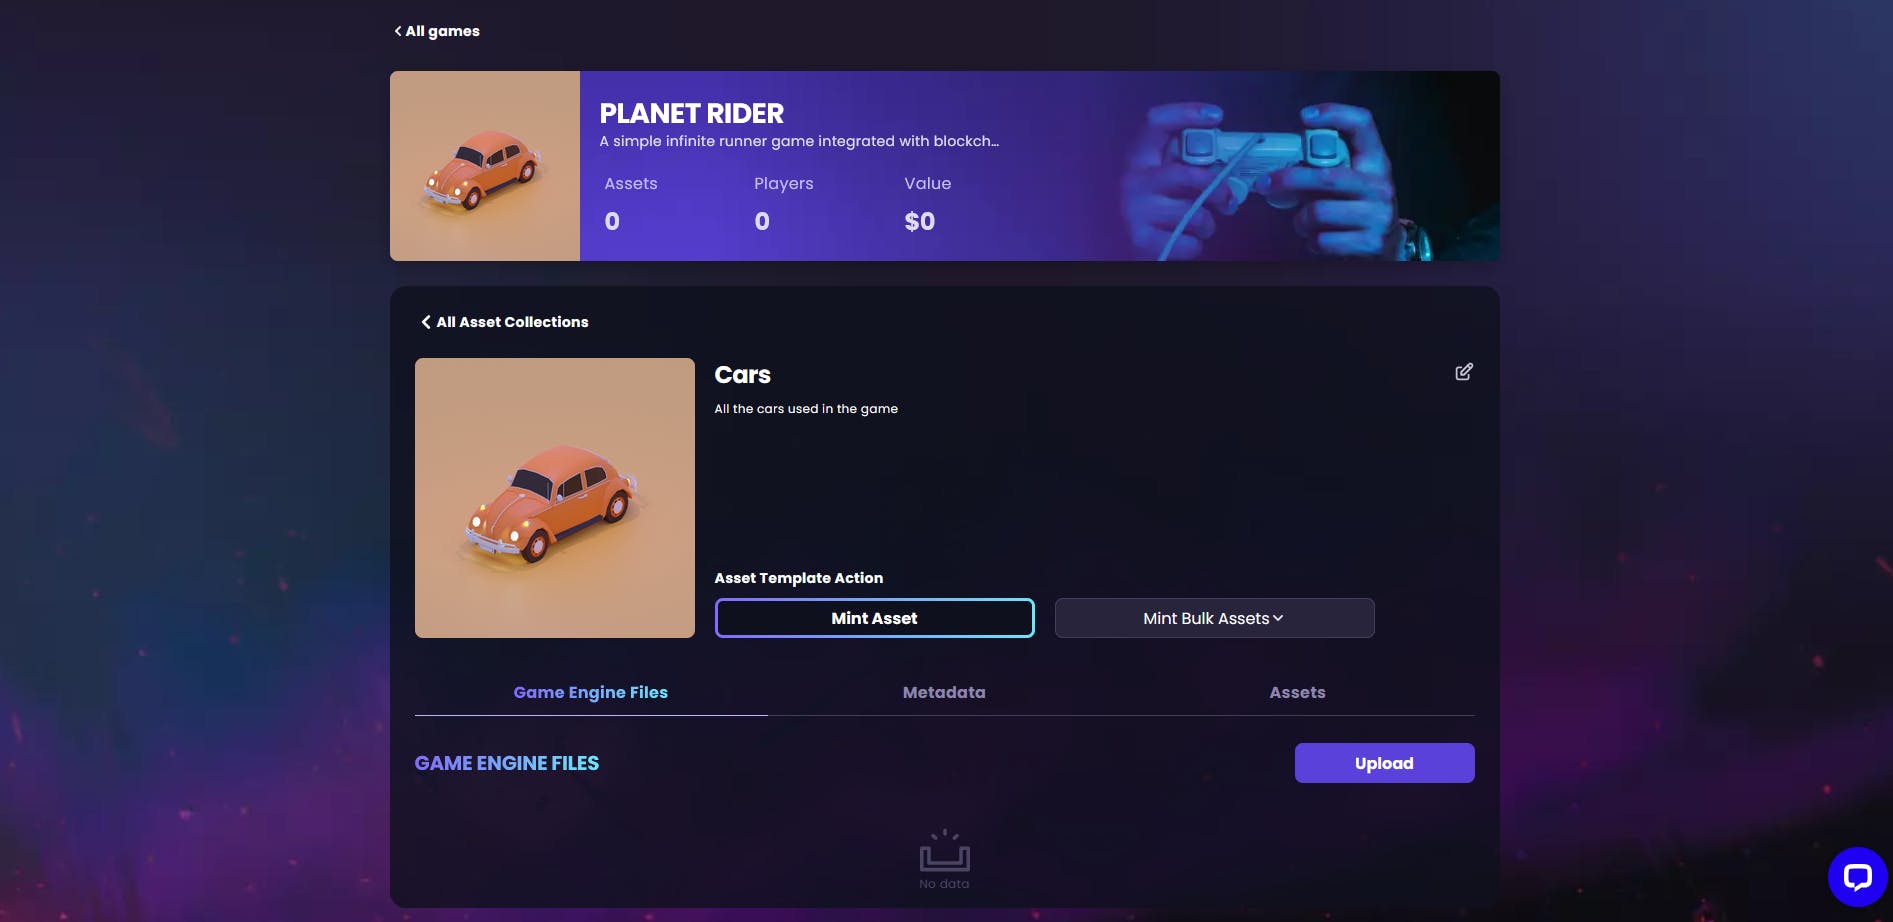
Mint our first asset
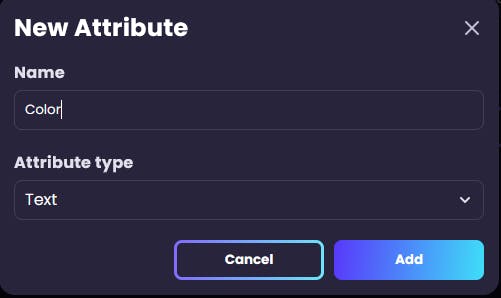
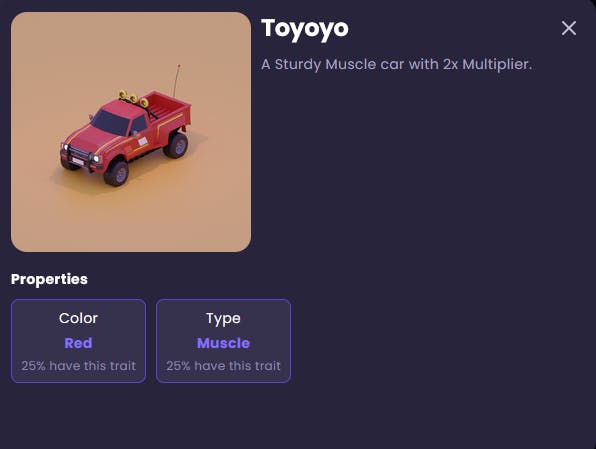
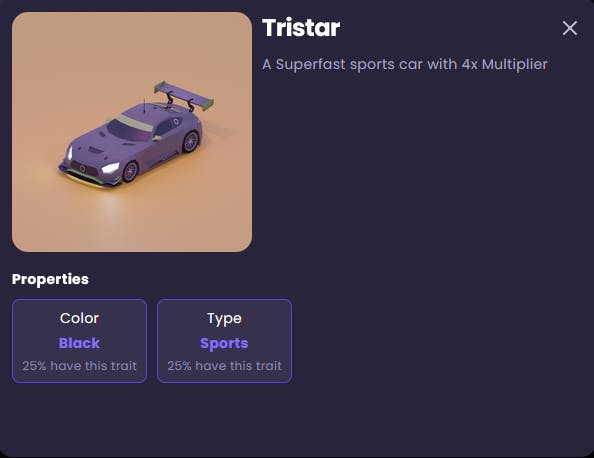
Open the metadata tab, and let\'s add some attributes for our NFTs. Click on New Attribute and add a color attribute of the text type.
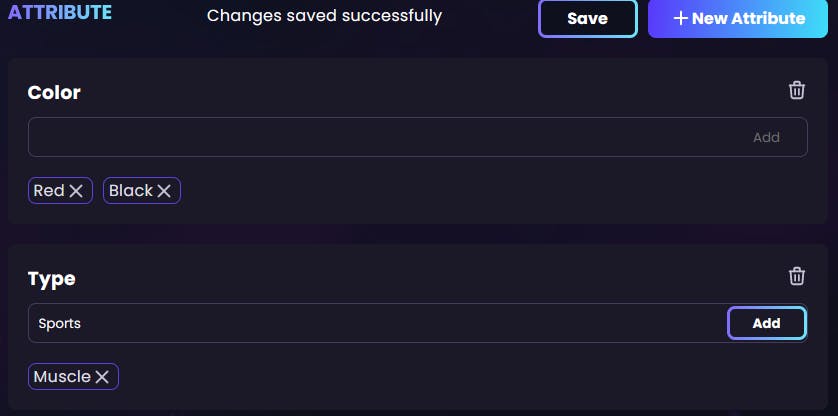
Let's add one more. Add a type attribute of the text type.
Let's add some presets for our attributes. After typing, click on Add to successfully add an attribute preset. And don't forget to save it.
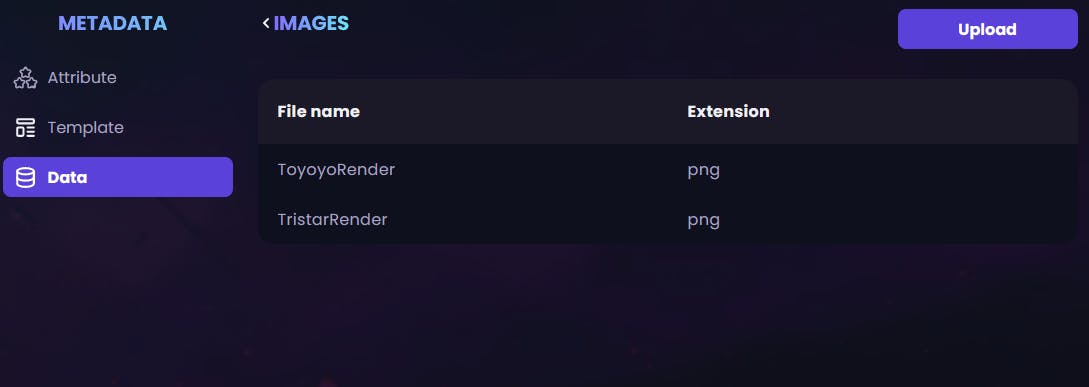
Open the data folder and click on the image folder to add some images to it which would be needed when we have mint our NFTs. You can also upload all the images needed for the NFTs here.
For now, we have all the minimum requirements for minting our first NFT. We have images and attributes. LETS MINT :)
Click on Mint Asset to open the mint asset dialog.
We are going to mint the assets ourselves, so let's add our username there. And of course, fill in the necessary details required.
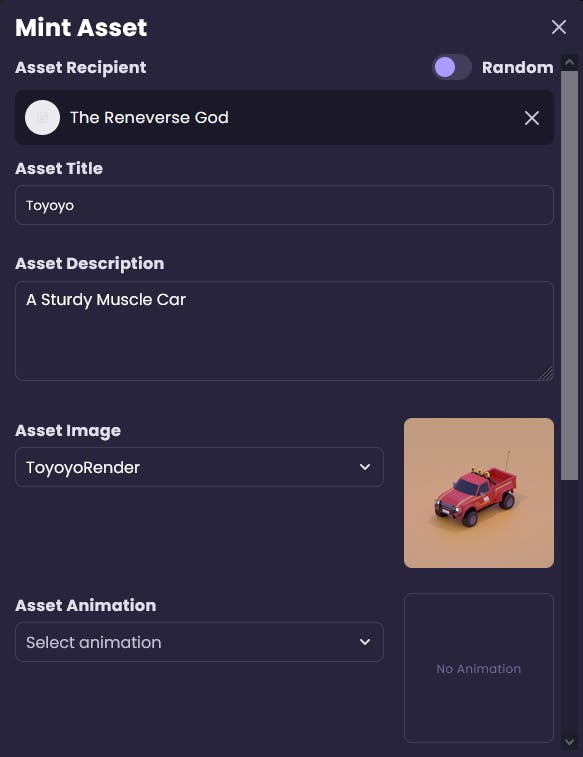

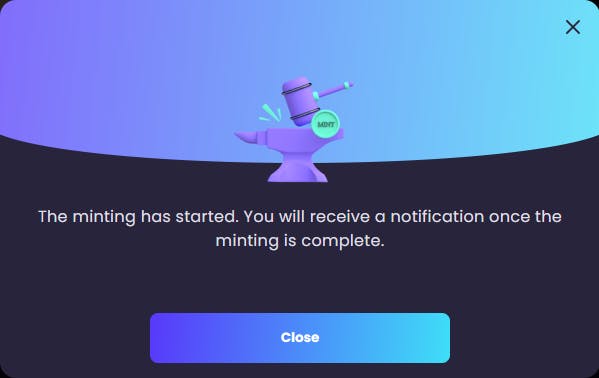
Click on Mint and we have started the process of minting. It will take 4-5 minutes to mint. Meanwhile, let's learn about minting, shall we?
What is Minting?
In the context of web3 and blockchain technology, "minting" refers to the process of creating a new digital asset or token on a blockchain. It involves the generation and registration of a unique token that represents a specific item, asset, or piece of data.
When minting a token, a smart contract is written to define the characteristics and properties of the token. These properties can include the total supply, the name, the symbol, and any additional metadata associated with the token. The smart contract ensures that the token adheres to predefined rules and standards, such as the ERC-721 or ERC-1155 standards for non-fungible tokens (NFTs).
Generate Credentials to integrate with Unity
We need the API key, Private Key and GameID to integrate our assets with Unity. Go back to the Collections tab, and click on settings. Open the API credentials to reveal the keys.
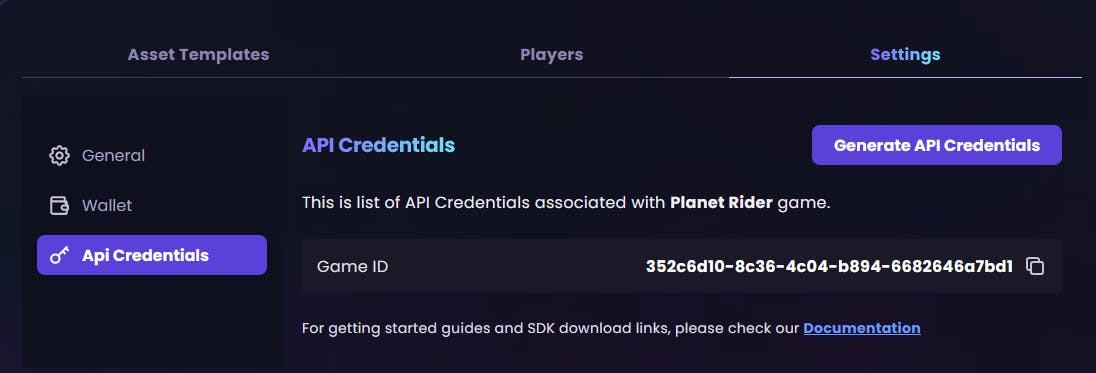
Well, we are missing an API Key and a private key. Let's generate it, and click on Generate API Credentials. Expiry data cannot be more than 6 months from the current date.
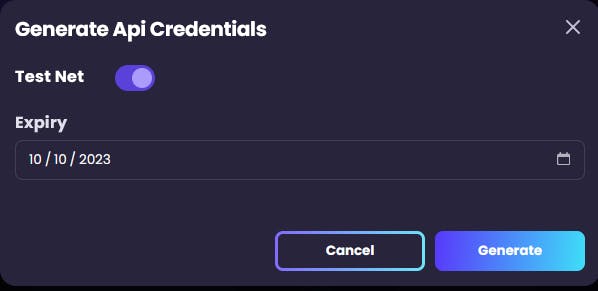
Click on Generate.
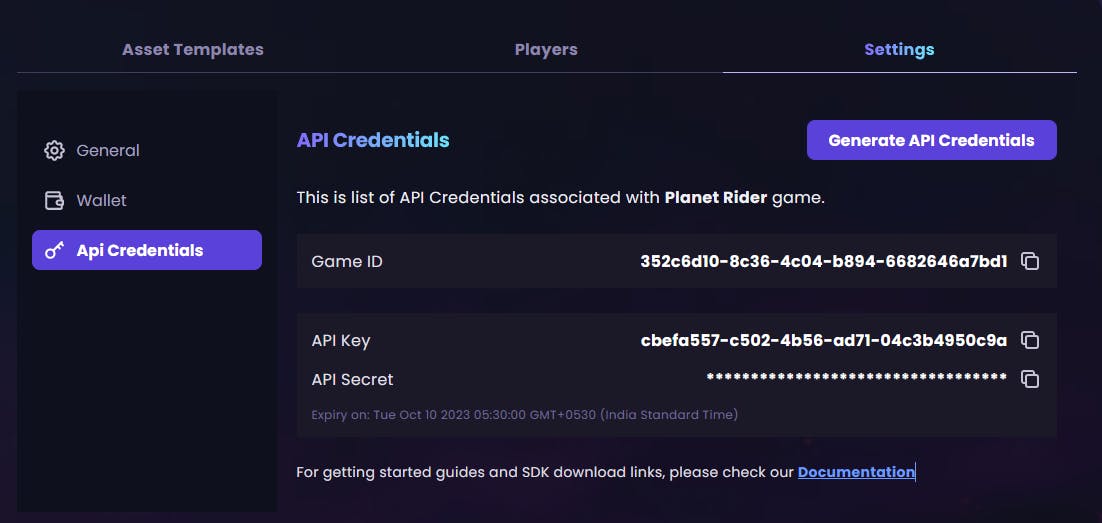
Don't close the tab in your browser, we will copy the credentials from here.
Adding a Login Button and Authorizing Requests to play your game from the user
All we need to do is to add a login button so that users can type their email ID in our game and send authorization requests to our Reneverse dashboard. This will allow the user to connect their Reneverse wallet with our Unity game and access their assets.
I like to keep my workplace tidy. So, make an empty object in Unity and create a new script(maybe name it ReneverseManager.cs) to it.
Linking Reneverse credentials with Unity
In Unity, open the Window menu and click on Reneverse settings.
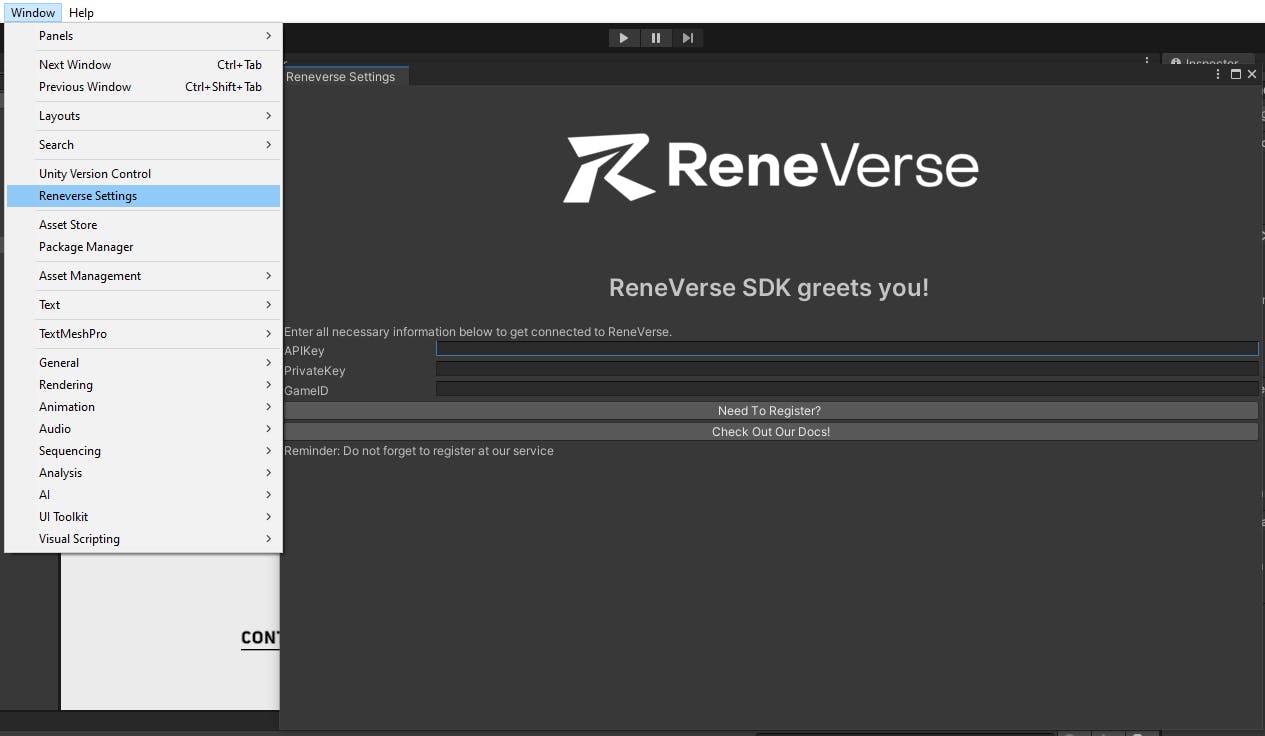
Add the credentials from the browser tab you kept open earlier.
Creating UI
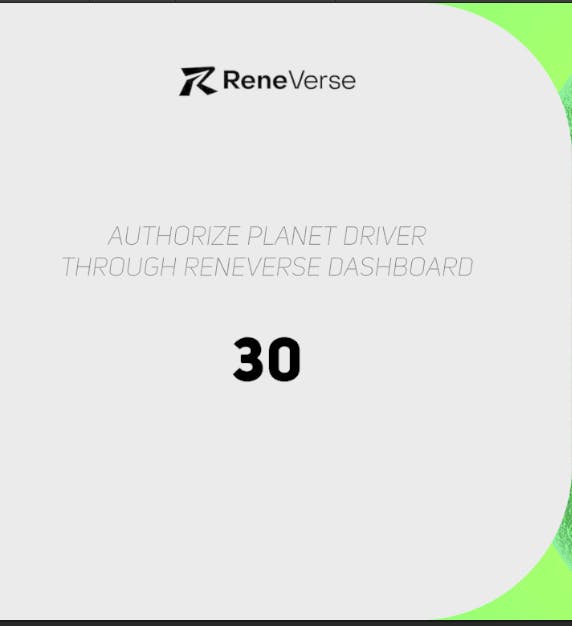
We need 2 panels, one consisting of a login window and a second with a countdown window, to give the users a limited time to authorize the login through the Reneverse dashboard.
You are free to use your design, and feel free to rate my designs :)
Parent both of them in a single panel, keeping the countdown panel inactive.

Let's get into coding.
Creating a connect user function
Open the ReneverseManager.cs and let's add a connect user function to it which will pop up a 30 Seconds countdown timer for the user to authorize the game to Reneverse Dashboard.
using Rene.Sdk;
using Rene.Sdk.Api.Game.Data;
using ReneVerse;
using System;
using System.Collections;
using System.Collections.Generic;
using System.Threading.Tasks;
using TMPro;
using UnityEngine;

public class ReneverseManager : MonoBehaviour
{
    public static string EmailHandler;

    // The TextMeshPro Inputfield
    public GameObject Email;
    // The Timer Text Field which would update every second
    public TextMeshProUGUI Timer;

    // The parent panet which contains both sign in and countdown panel
    public GameObject LogInPanel;
    // The Countdown panel which contains the timer
    public GameObject CountdownPanel;


    API ReneAPI;

    async Task ConnectUser()
    {
        ReneAPI = ReneAPIManager.API();
        EmailHandler = Email.GetComponent<TMP_InputField>().text;
        bool connected = await ReneAPI.Game().Connect(EmailHandler);
        Debug.Log(connected);
        if (!connected) return;
        StartCoroutine(ConnectReneService(ReneAPI));
    }

    private IEnumerator ConnectReneService(API reneApi)
    {
        CountdownPanel.SetActive(true);
        var counter = 30;
        var userConnected = false;
        var secondsToDecrement = 1;
        while (counter >= 0 && !userConnected)
        {
            Timer.text = counter.ToString();
            if (reneApi.IsAuthorized())
            {

                CountdownPanel.SetActive(false);
                LogInPanel.SetActive(false);


                // Will Fetch our assets from here


                userConnected = true;
                LoginStatus = true;
            }

            yield return new WaitForSeconds(secondsToDecrement);
            counter -= secondsToDecrement;
        }
        CountdownPanel.SetActive(false);
    }
}
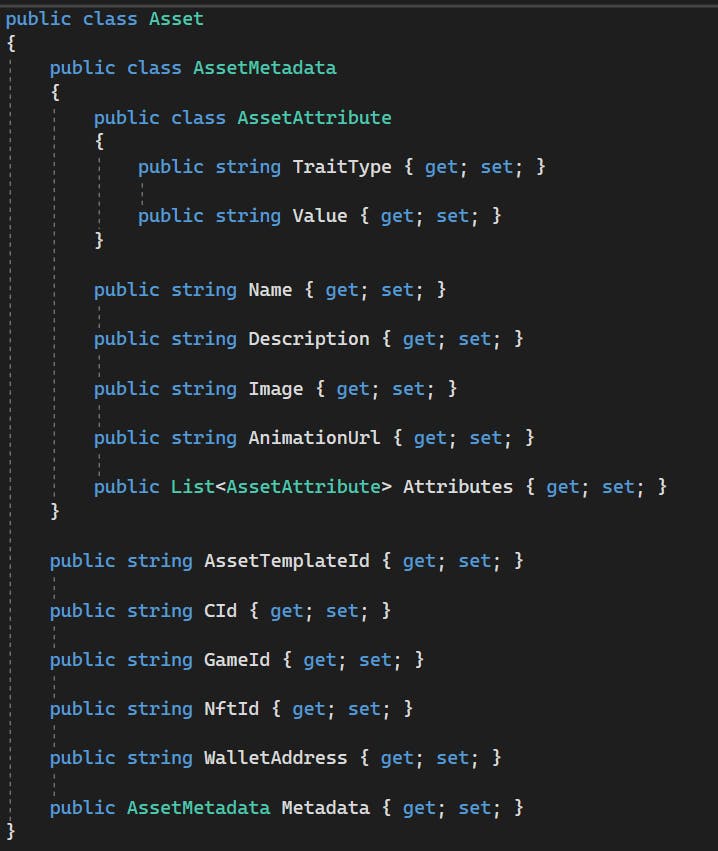
Before fetching our assets, let's learn what our object looks like.
The Asset Object
We would be fetching the whole Asset object from Reneverse. That's why learning the fields of our Asset Object is Essential. Every Game has its different mechanics and needs, so we would fetch only the data we require.
Fetching Assets owned by User
Let's create a function that fetches the assets owned by the user if they have authorized our game.
private async Task GetUserAssetsAsync(API reneApi)
    {
        AssetsResponse.AssetsData userAssets = await reneApi.Game().Assets();
        userAssets?.Items.ForEach(asset =>
        {
            // If your game requires the name and NFTId, you can store it in a dictionary or create a class that suits your game
            Debug.Log(asset.Metadata.Name);
            Debug.Log(asset.NftId);
        });
    }
Example of fetching complex data:
private async Task GetUserAssetsAsync(API reneApi)
{
    AssetsResponse.AssetsData userAssets = await reneApi.Game().Assets();
    userAssets?.Items.ForEach(asset =>
    {
        string assetName = asset.Metadata.Name;
        string assetImageUrl = asset.Metadata.Image;
        string assetColor = "";
        asset.Metadata?.Attributes?.ForEach(attribute =>
        {
            if (attribute.TraitType == "Color")
            {
                assetColor = attribute.Value;
            }
        });

        Asset assetObj = new Asset(assetName, assetImageUrl, assetColor);
        // Add to a static list of Asset object maybe
     });
}

public class Asset
{
    public string AssetName { get; set; }
    public string AssetUrl { get; set; }

    public string AssetColor {get; set;}
    public Asset(string assetName, string assetUrl, string assetColor)
    {
        AssetName = assetName;
        AssetUrl = assetUrl;
        AssetColor = assetColor;
    }
}
Lastly, Add this function to the ConnectReneService :
using Rene.Sdk;
using Rene.Sdk.Api.Game.Data;
using ReneVerse;
using System;
using System.Collections;
using System.Collections.Generic;
using System.Threading.Tasks;
using TMPro;
using UnityEngine;

public class ReneverseManager : MonoBehaviour
{
    public static string EmailHandler;

    // The TextMeshPro Inputfield
    public GameObject Email;
    // The Timer Text Field which would update every second
    public TextMeshProUGUI Timer;

    // The parent panet which contains both sign in and countdown panel
    public GameObject LogInPanel;
    // The Countdown panel which contains the timer
    public GameObject CountdownPanel;


    API ReneAPI;

    async Task ConnectUser()
    {
        ReneAPI = ReneAPIManager.API();
        EmailHandler = Email.GetComponent<TMP_InputField>().text;
        bool connected = await ReneAPI.Game().Connect(EmailHandler);
        Debug.Log(connected);
        if (!connected) return;
        StartCoroutine(ConnectReneService(ReneAPI));
    }

    private IEnumerator ConnectReneService(API reneApi)
    {
        CountdownPanel.SetActive(true);
        var counter = 30;
        var userConnected = false;
        var secondsToDecrement = 1;
        while (counter >= 0 && !userConnected)
        {
            Timer.text = counter.ToString();
            if (reneApi.IsAuthorized())
            {

                CountdownPanel.SetActive(false);
                LogInPanel.SetActive(false);


                // Will Fetch our assets from here
                yield return GetUserAssetsAsync(reneApi);


                userConnected = true;
                LoginStatus = true;
            }

            yield return new WaitForSeconds(secondsToDecrement);
            counter -= secondsToDecrement;
        }
        CountdownPanel.SetActive(false);
    }
}
Unity buttons don't accept functions returning tasks. Let's fix it!!
Adding Functions suitable for Unity Buttons to interact
Add this function in the code, to apply in the login button.
public async void SignIn()
{
    await ConnectUser();
}
The Final Code
using Rene.Sdk;
using Rene.Sdk.Api.Game.Data;
using ReneVerse;
using System;
using System.Collections;
using System.Collections.Generic;
using System.Threading.Tasks;
using TMPro;
using UnityEngine;

public class ReneverseManager : MonoBehaviour
{
    public static string EmailHandler;

    // The TextMeshPro Inputfield
    public GameObject Email;
    // The Timer Text Field which would update every second
    public TextMeshProUGUI Timer;

    // The parent panet which contains both sign in and countdown panel
    public GameObject LogInPanel;
    // The Countdown panel which contains the timer
    public GameObject CountdownPanel;


    API ReneAPI;

    async Task ConnectUser()
    {
        ReneAPI = ReneAPIManager.API();
        EmailHandler = Email.GetComponent<TMP_InputField>().text;
        bool connected = await ReneAPI.Game().Connect(EmailHandler);
        Debug.Log(connected);
        if (!connected) return;
        StartCoroutine(ConnectReneService(ReneAPI));
    }

    private IEnumerator ConnectReneService(API reneApi)
    {
        CountdownPanel.SetActive(true);
        var counter = 30;
        var userConnected = false;
        var secondsToDecrement = 1;
        while (counter >= 0 && !userConnected)
        {
            Timer.text = counter.ToString();
            if (reneApi.IsAuthorized())
            {

                CountdownPanel.SetActive(false);
                LogInPanel.SetActive(false);


                // Will Fetch our assets from here
                yield return GetUserAssetsAsync(reneApi);


                userConnected = true;
                LoginStatus = true;
            }

            yield return new WaitForSeconds(secondsToDecrement);
            counter -= secondsToDecrement;
        }
        CountdownPanel.SetActive(false);
    }
    private async Task GetUserAssetsAsync(API reneApi)
    {
        AssetsResponse.AssetsData userAssets = await reneApi.Game().Assets();
        userAssets?.Items.ForEach(asset =>
        {
            string assetName = asset.Metadata.Name;
            string assetImageUrl = asset.Metadata.Image;
            string assetColor = "";
            asset.Metadata?.Attributes?.ForEach(attribute =>
            {
                if (attribute.TraitType == "Color")
                {
                    assetColor = attribute.Value;
                }
            });

            Asset assetObj = new Asset(assetName, assetImageUrl, assetColor);
            // Add to a static list of Asset objects maybe
        });
    }
}

public class Asset
{
    public string AssetName { get; set; }
    public string AssetUrl { get; set; }

    public string AssetColor {get; set;}
    public Asset(string assetName, string assetUrl, string assetColor)
    {
        AssetName = assetName;
        AssetUrl = assetUrl;
        AssetColor = assetColor;
    }
}
Check out Both the games developed by me for the Reneverse Borderless Gaming Hackathon and give them a try!!
Useful Links
Do Drop a like, if you think this article helped you :)