


Introduction
In this guide, we are going to learn how to start development on Solana using thirdweb! We will deploy a Solana token program using thirdweb, create a Next.js app, show how the users can connect using the Solana wallet adaptor provided in the thirdweb SDK and lastly, interact with the token program through our Next.js app.
What is thirdweb?
thirdweb is a platform that lets you deploy Solana programs or smart contracts without having to know Solidity or Rust, you can do it by using TypeScript, Python or Go or even without writing any code.
Why Solana?
Solana is designed to be highly scalable, with the ability to support millions of users and dApps without compromising on speed and security. It is built using Rust Programming Language and has a strong focus on developer friendliness, with a range of tools and resources available to help developers build on this platform.
Deploying the Solana token program using thirdweb
Setting up your wallet for deployment
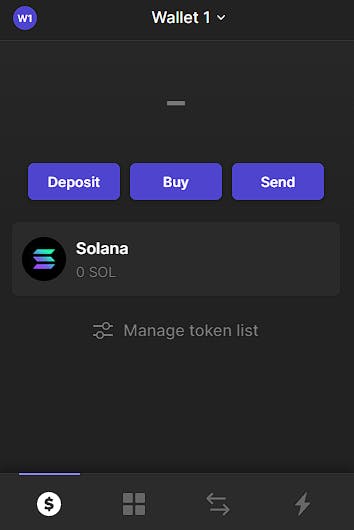
Download the phantom wallet from: https://phantom.app/, set up your password and save your security phrase for further recovery.
For this guide, we would be deploying our token program in Devnet. Let's switch our network to Devnet.
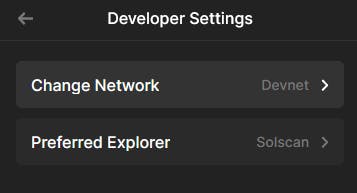
Click on the wallet icon located in the top left to open the settings
You would see a similar menu given below

Click on developer settings and change your network to devnet by clicking on Change network
Gain some test funds from a Solana faucet
After switching to Solana devnet, you need some test funds to deploy the thirdweb program to devnet, How about we get some test funds from a faucet :)
Go to https://solfaucet.com/ and get some test funds, 1 sol should be enough!

Deploying our thirdweb Solana token program
Go to https://thirdweb.com/programs, it will directly redirect you to thirdweb Program dashboard.
The dashboard will prompt you to connect your wallet!
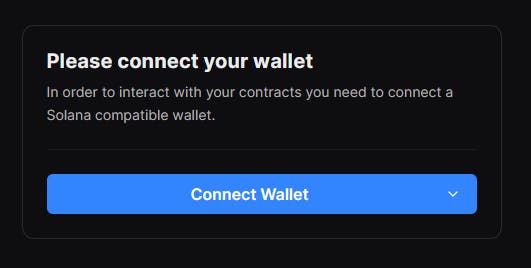
Connect your phantom wallet and it will open the deployed program menu. The next objective for us will be to click on Deploy new program.
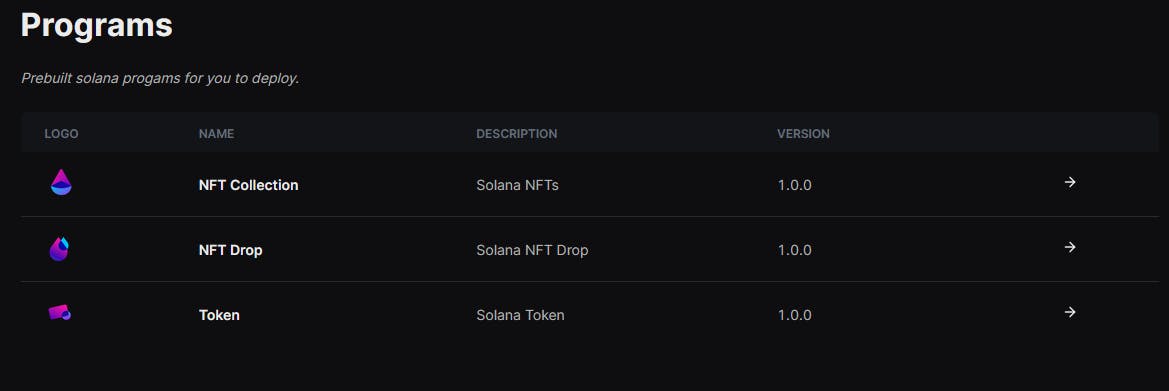
Currently, thirdweb provides 3 prebuilt programs for you to deploy. As we know, we will click on Token to deploy our token program for this guide.
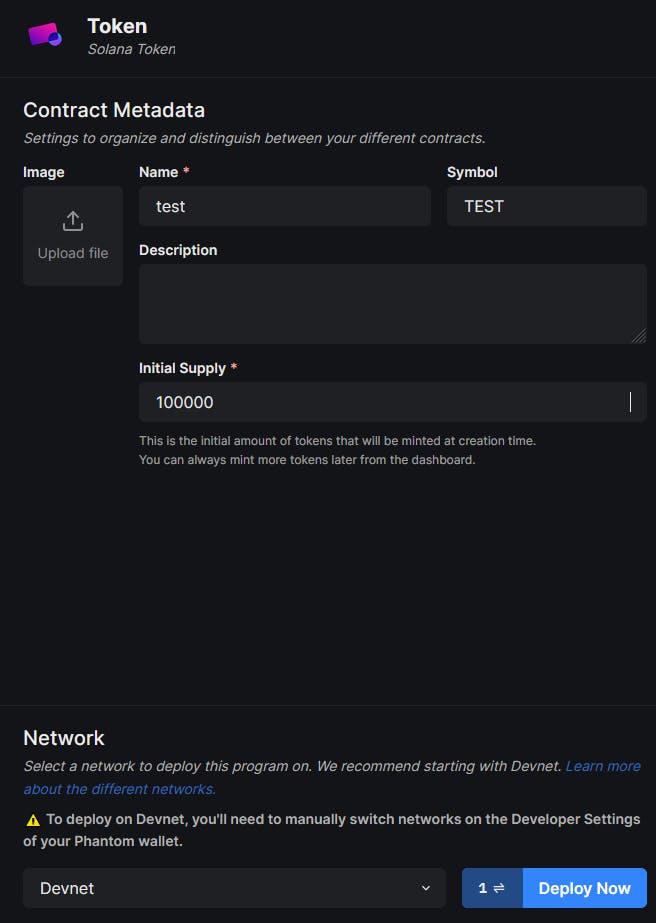
Give your token a name, symbol and description you desire. The initial Supply of the token is up to you, for this guide, I chose to have a supply of 100000 tokens.
And lastly, deploy your token to Devnet by changing it from the dropdown at the bottom. Click to deploy now to have your first token program deployed in Solana.
If you have made it this far, you can pat yourself on the back!! Bravo!!
Diving into frontend
Setting Up Connect Button
Let's set up a new web application with Next.Js and Typescript using the thirdweb CLI using:
npx thirdweb create app --solana --ts
Under the Pages folder, you will find 2 files: _app.tsx and index.tsx
In _app.tsx, set the network to devnet.
import { WalletModalProvider } from "@solana/wallet-adapter-react-ui";
import { ThirdwebProvider } from "@thirdweb-dev/react/solana";
import { Network } from "@thirdweb-dev/sdk/solana";
import type { AppProps } from "next/app";
import "../styles/globals.css";

// Change the network to the one you want to use: "mainnet-beta", "testnet", "devnet", "localhost" or your own RPC endpoint
const network: Network = "devnet";

function MyApp({ Component, pageProps }: AppProps) {
  return (
    <ThirdwebProvider network={network}>
      <WalletModalProvider>
        <Component {...pageProps} />
      </WalletModalProvider>
    </ThirdwebProvider>
  );
}

export default MyApp;
Remove the boilerplate code from the return of the Home function in index.tsx except for the WalletMultiButtonDynamic. Your index.tsx should finally look like this.
import type { NextPage } from "next";
import dynamic from "next/dynamic";
import Image from "next/image";
import styles from "../styles/Home.module.css";

// Default styles that can be overridden by your app
require("@solana/wallet-adapter-react-ui/styles.css");

const WalletMultiButtonDynamic = dynamic(
  async () =>
    (await import("@solana/wallet-adapter-react-ui")).WalletMultiButton,
  { ssr: false }
);

const Home: NextPage = () => {
  return (
    <>
      <WalletMultiButtonDynamic />
    </>
  );
};

export default Home;
Setting up hooks provided by thirdweb
Let's refer to the Dashboard's Code section and go side-by-side.
Open your token contract, select "Code" provided in the left menu and lastly select react to see how we can use thirdweb hooks in react.

Let's import the useProgram hook and initialize our program address with it.
import type { NextPage } from "next";
import dynamic from "next/dynamic";
import Image from "next/image";
import styles from "../styles/Home.module.css";
import { useProgram } from "@thirdweb-dev/react/solana";

// Default styles that can be overridden by your app
require("@solana/wallet-adapter-react-ui/styles.css");

const WalletMultiButtonDynamic = dynamic(
  async () =>
    (await import("@solana/wallet-adapter-react-ui")).WalletMultiButton,
  { ssr: false }
);

const Home: NextPage = () => {
  const { program } = useProgram(
    "H99DdjF9Pn1aTEbTmu6fQWSjBbEPfm8YxhTUjUzkPuSy",
    "token"
  );

  return (
    <>
      <WalletMultiButtonDynamic />
    </>
  );
};

export default Home;
Initiating a transfer
Scroll down, and you will find the section: "Transfer the specified amount of tokens to another wallet"
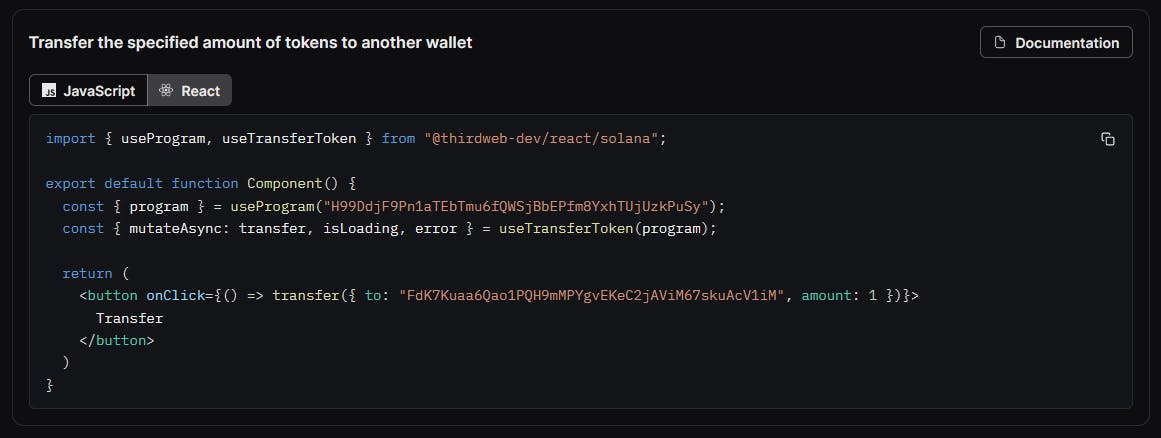
Let's replicate the same in our app.
import type { NextPage } from "next";
import dynamic from "next/dynamic";
import Image from "next/image";
import styles from "../styles/Home.module.css";
import { useProgram, useTransferToken } from "@thirdweb-dev/react/solana";

// Default styles that can be overridden by your app
require("@solana/wallet-adapter-react-ui/styles.css");

const WalletMultiButtonDynamic = dynamic(
  async () =>
    (await import("@solana/wallet-adapter-react-ui")).WalletMultiButton,
  { ssr: false }
);

const Home: NextPage = () => {
  const { program } = useProgram(
    "H99DdjF9Pn1aTEbTmu6fQWSjBbEPfm8YxhTUjUzkPuSy",
    "token"
  );
  const { mutateAsync: transfer, isLoading, error } = useTransferToken(program);

  return (
    <>
      <WalletMultiButtonDynamic />
      <button
        onClick={() =>
          transfer({
            receiverAddress: "FdK7Kuaa6Qao1PQH9mMPYgvEKeC2jAViM67skuAcV1iM",
            amount: 1,
          })
        }
      >
        Transfer
      </button>
    </>
  );
};

export default Home;
Notice that, we have not used
transfer({ to: "FdK7Kuaa6Qao1PQH9mMPYgvEKeC2jAViM67skuAcV1iM", amount: 1 })
Instead,
transfer({ receiverAddress: "FdK7Kuaa6Qao1PQH9mMPYgvEKeC2jAViM67skuAcV1iM", amount: 1, })
The code section is outdated, and every day, thirdweb releases new updates as per the user's need. Join the Discord server to keep yourself updated:https://discord.gg/thirdweb
Finishing Up
In the terminal, run
npm run dev
Open your native browser and open localhost:3000/
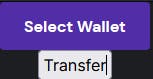
The two buttons will show, Click on select wallet and select your phantom wallet.
And VOILA!! Click on transfer to approve and initiate a transfer :)
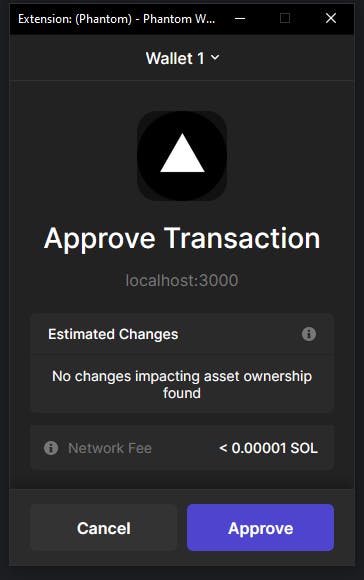
Congrats on your first Solana program using thirdweb !!